I've been creating a bunch of Echo icons lately and one thing I wondered how to do properly is perspective. It's easy to do thinks consistently if you're using some kind of metric projection (e.g. isometric), because you have simple linear transformations from (X, Y, Z) to (x, y). That's not true for perspective. How the 3D projects to 2D depends on the shape, on the position, on the size and many more factors when projecting with perspective. Because I was creating many icons at once, all flat ones with constant thickness, I wanted to do this not only consistently, but also quickly. I've came up with the following workflow.
Start with drawing the front face of the icon on the canvas, just like if you were drawing pure 2D.
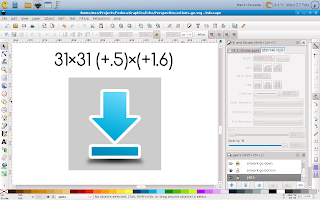
Then duplicate the canvas as well as the icon shape. Don't forget to change colours so that you can easily tell them apart.
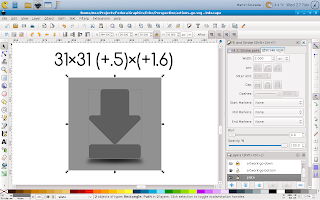
Next change the size of them by some factor and use the same factor for every icon you create and is supposed to have the same thickness. The resize should be done to both canvas and the icon shape at the same time so that it scales properly, keeping the ratios and position of the icon on canvas.
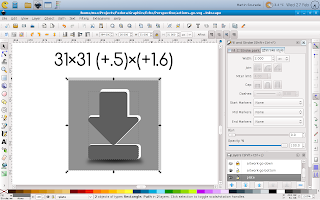
Then move the resized canvas together with the icon shape to it's new position. Again this has to be done consistently for all icons with the same thickness. You can imagine that the original and edited canvas create together some kind of cuboid whose front and back faces are squares, even in the 2D projected image its thickness regulates thickness of the icons and the relative position of its back side to the front side controls your point of view.
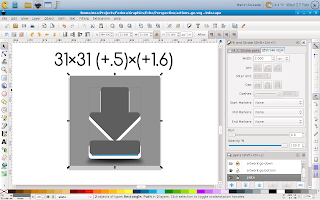
Next delete the changed canvas (we don't need it anymore) and put the back side of the icon behind the front one.
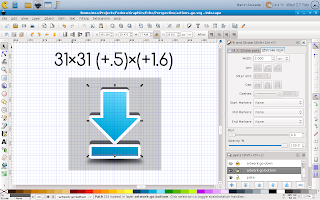
Next you should remember that you're doing an icon so it should be properly aligned to pixel grid in order to look crisp. This can be done quickly with the help of inkscape grid feature.
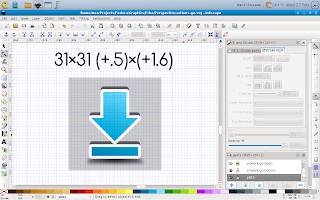
Now we have front and back side of the icon, but we still don't have it's sides, as can be seen on the next picture.
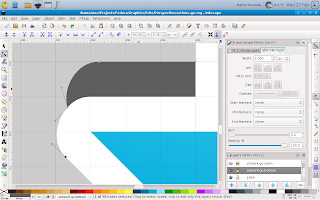
The easiest and for simple icons also the best way to do them is to duplicate the front side again, merge it with the back side and fix those bumpy parts to look as you'd expect them using the node tool.
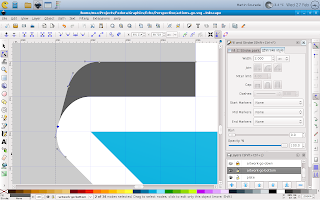
Now the icon is only missing some shading and outline.
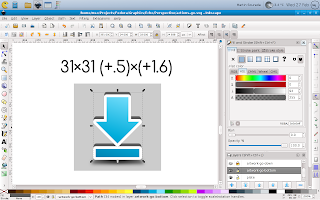
So next we add some gradients to make it look as we wish – this can be a tedious task, depending on how realistic we want the icon to look. On small size like this one it can be greatly simplified though. And finally we add an outline. This can be done by duplicating the edited shape again, adding an outline that is twice as wide as we want it to be (because half of it will be hidden) and push it bellow the whole icon. The result looks like this:
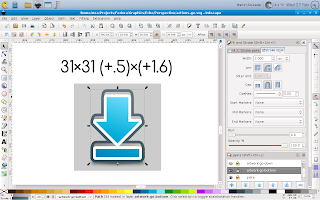
Finally we render the icon in desired size with transparent canvas and it looks like this:

I hope you like my today's how-to :-) Also, bear in mind that this is greatly simplified perspective projection as we use it in icons, if you were going for fully realistic painting you'd quickly find this workflow isn't suited for such task.


No comments:
Post a Comment